

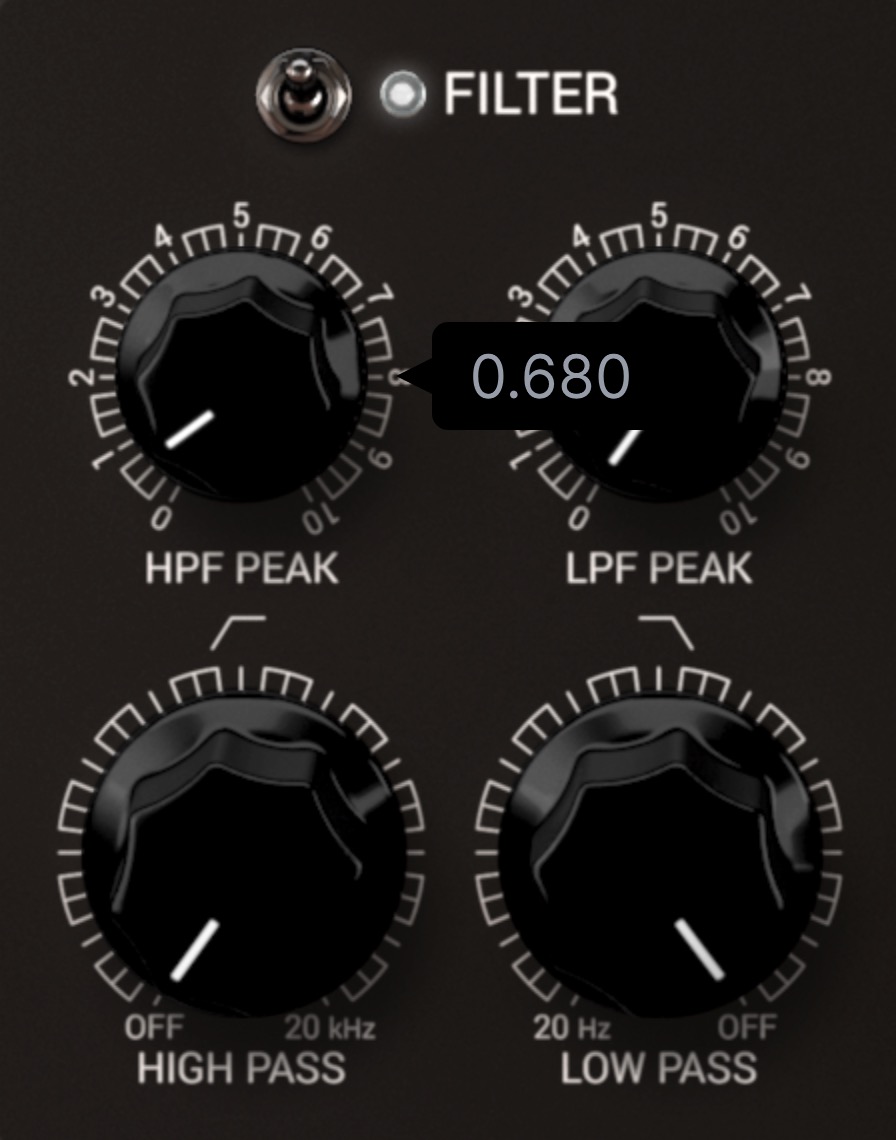
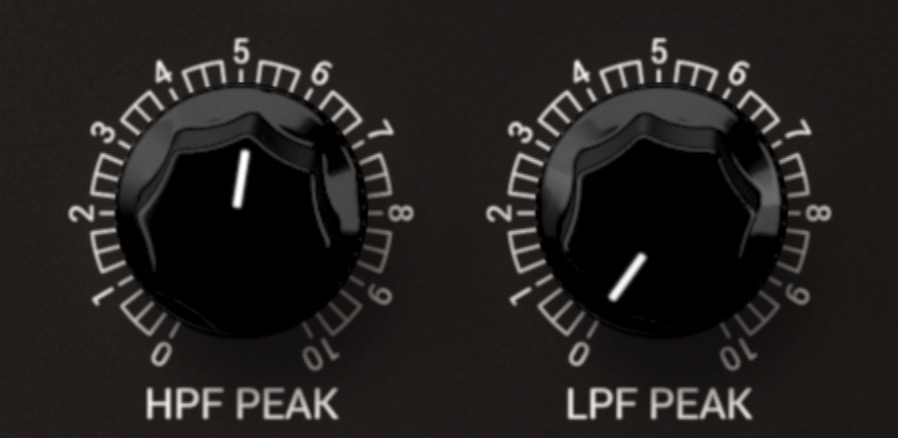
Like filters on an equalizer, it cuts the extreme highs and the extreme lows.
However, here, it even offers Resonance which allows for more creative uses, like for example "exciting" the frequencies around the cut.
Just try it by twisting the Peak parameter knobs.
The Compressor module is a VCA type compressor, with very subtle ratios suitable for mastering purposes, but also higher/more dramatic ratios more suitable for sound-design and creativity tasks.
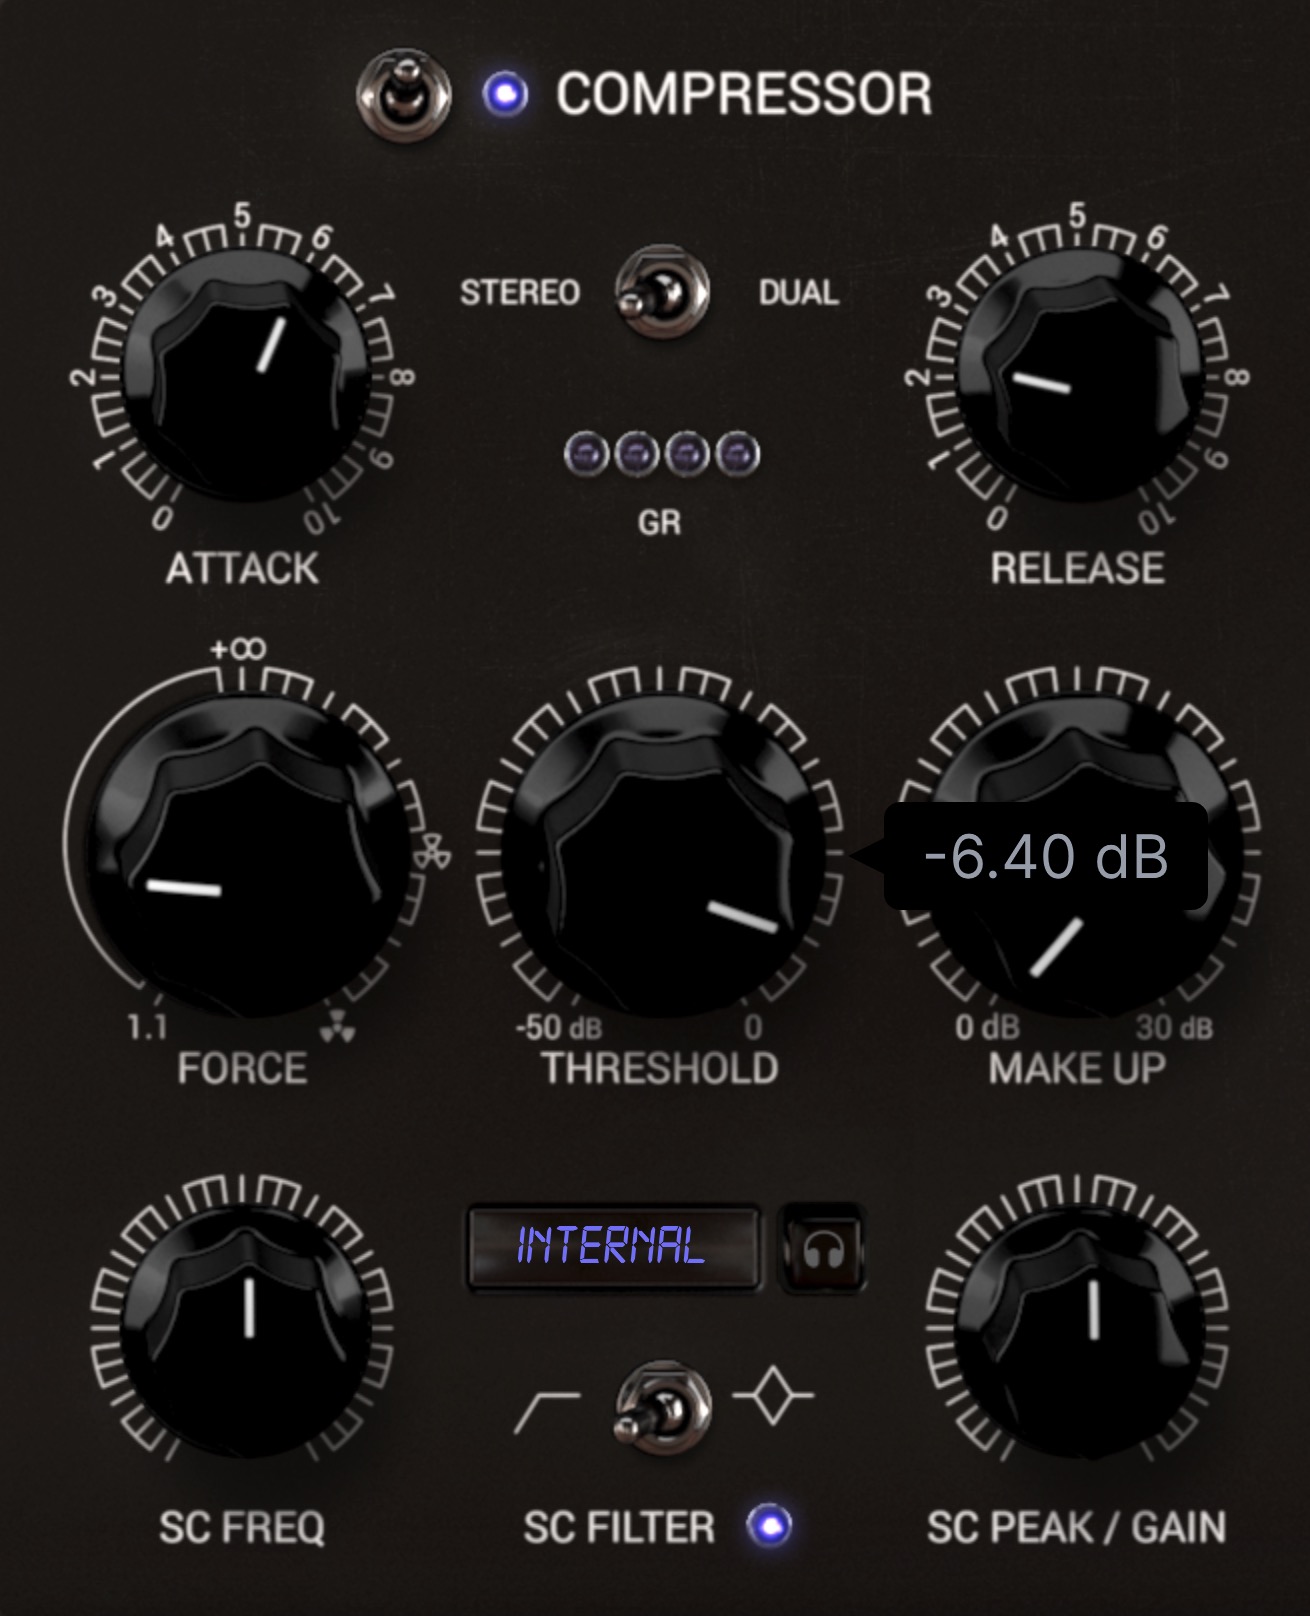
First of all, you got the stereo/dual switch. You can either go full stereo, or go dual mono if you want each channel of the detection signal to affect only the corresponding channel of the audio being processed.
One of the compressor parameters is called Force.
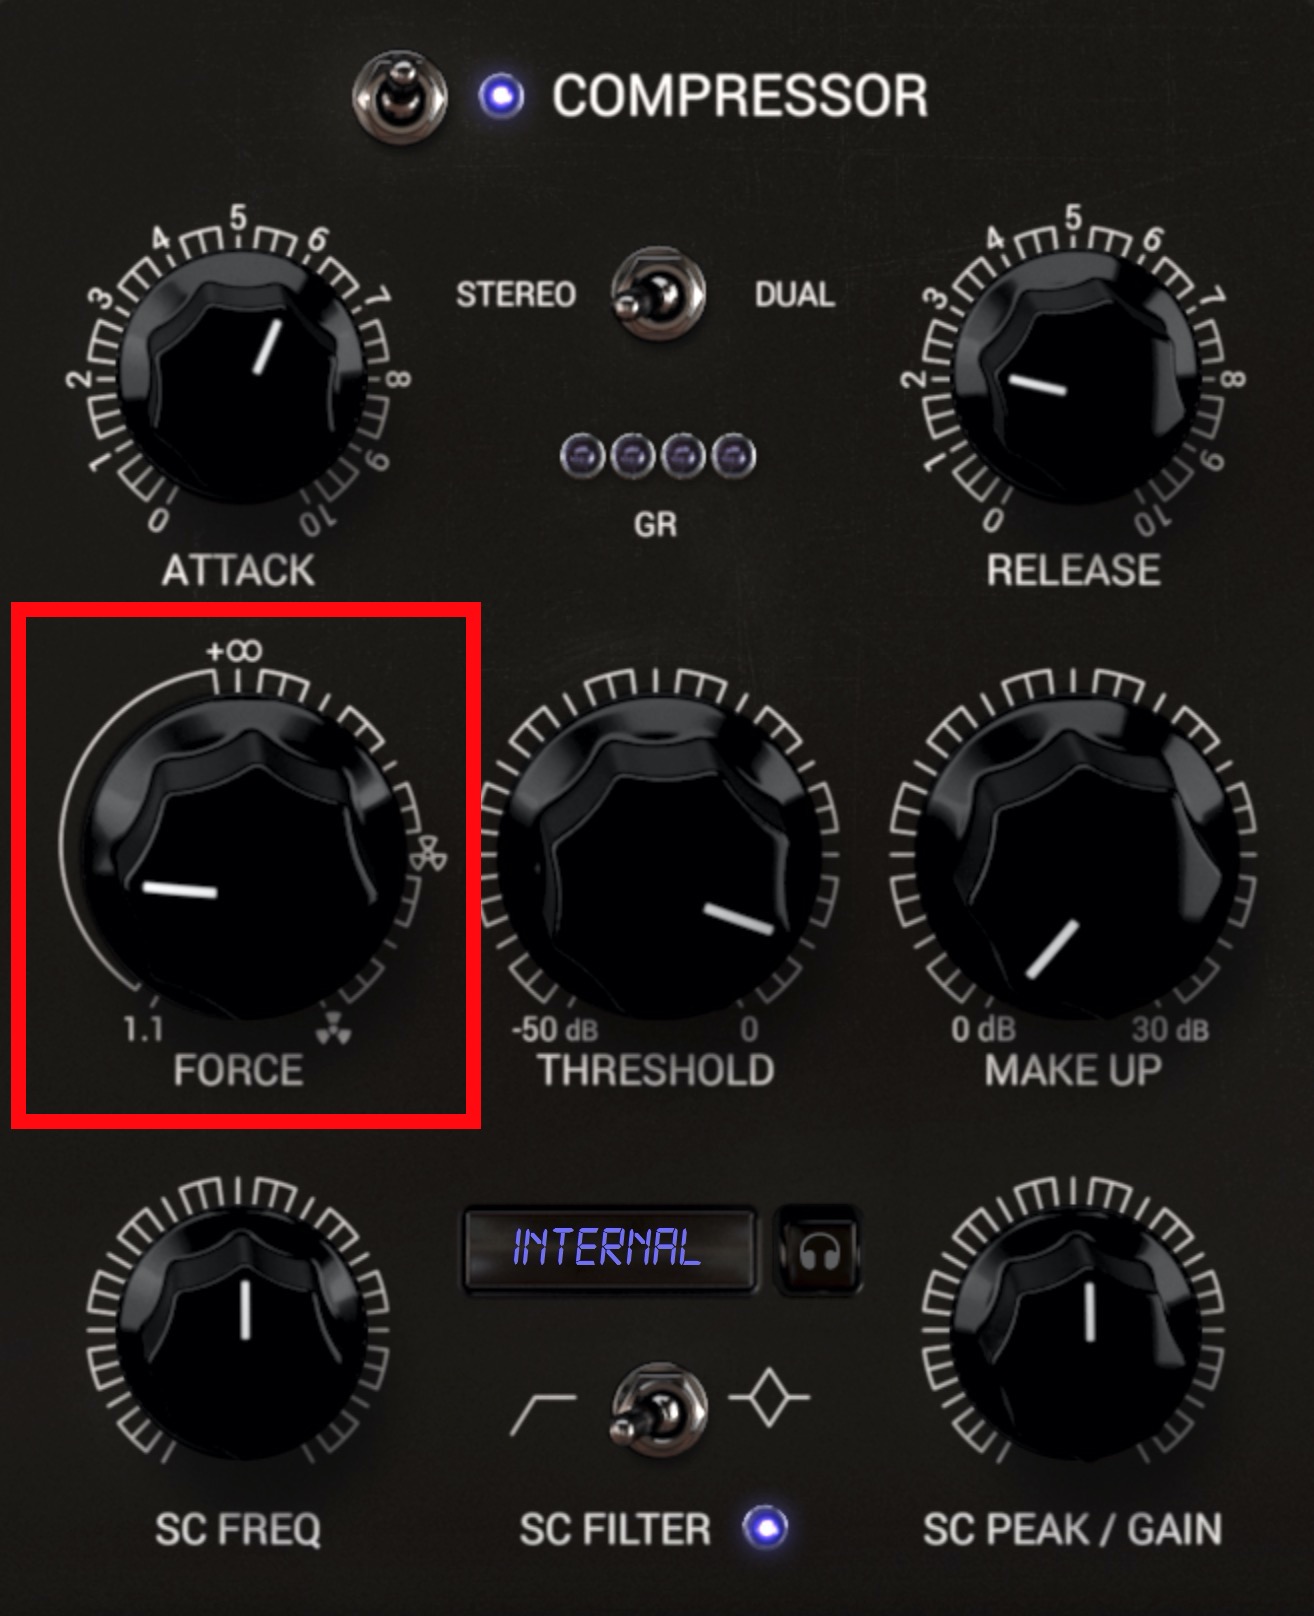
Force strongly magnifies the effects of the compression (gain reduction) by a multiplicative factor.
The envelope parameters (Attack and Release parameters) are also emphasized, but in a more subtle way.
One thing special about the Force parameter is that the compressor ratio starts with a soft 1.1 to infinite ratio at 12:00 position.
From that value upwards, the ratios start to be negative.
This negative ratio means that the sound under the threshold is “untouched”, and the sound above it gets its gain reduced the louder it gets.
With ‘Force’ at max, the sounds that will sound loudest are the ones untouched by the compressor.
Try it for yourself and look at the visualizer to understand it’s effect.
The Equalizer module is an analog type three-band EQ, with curves inspired by the famous Pultec equalizers..
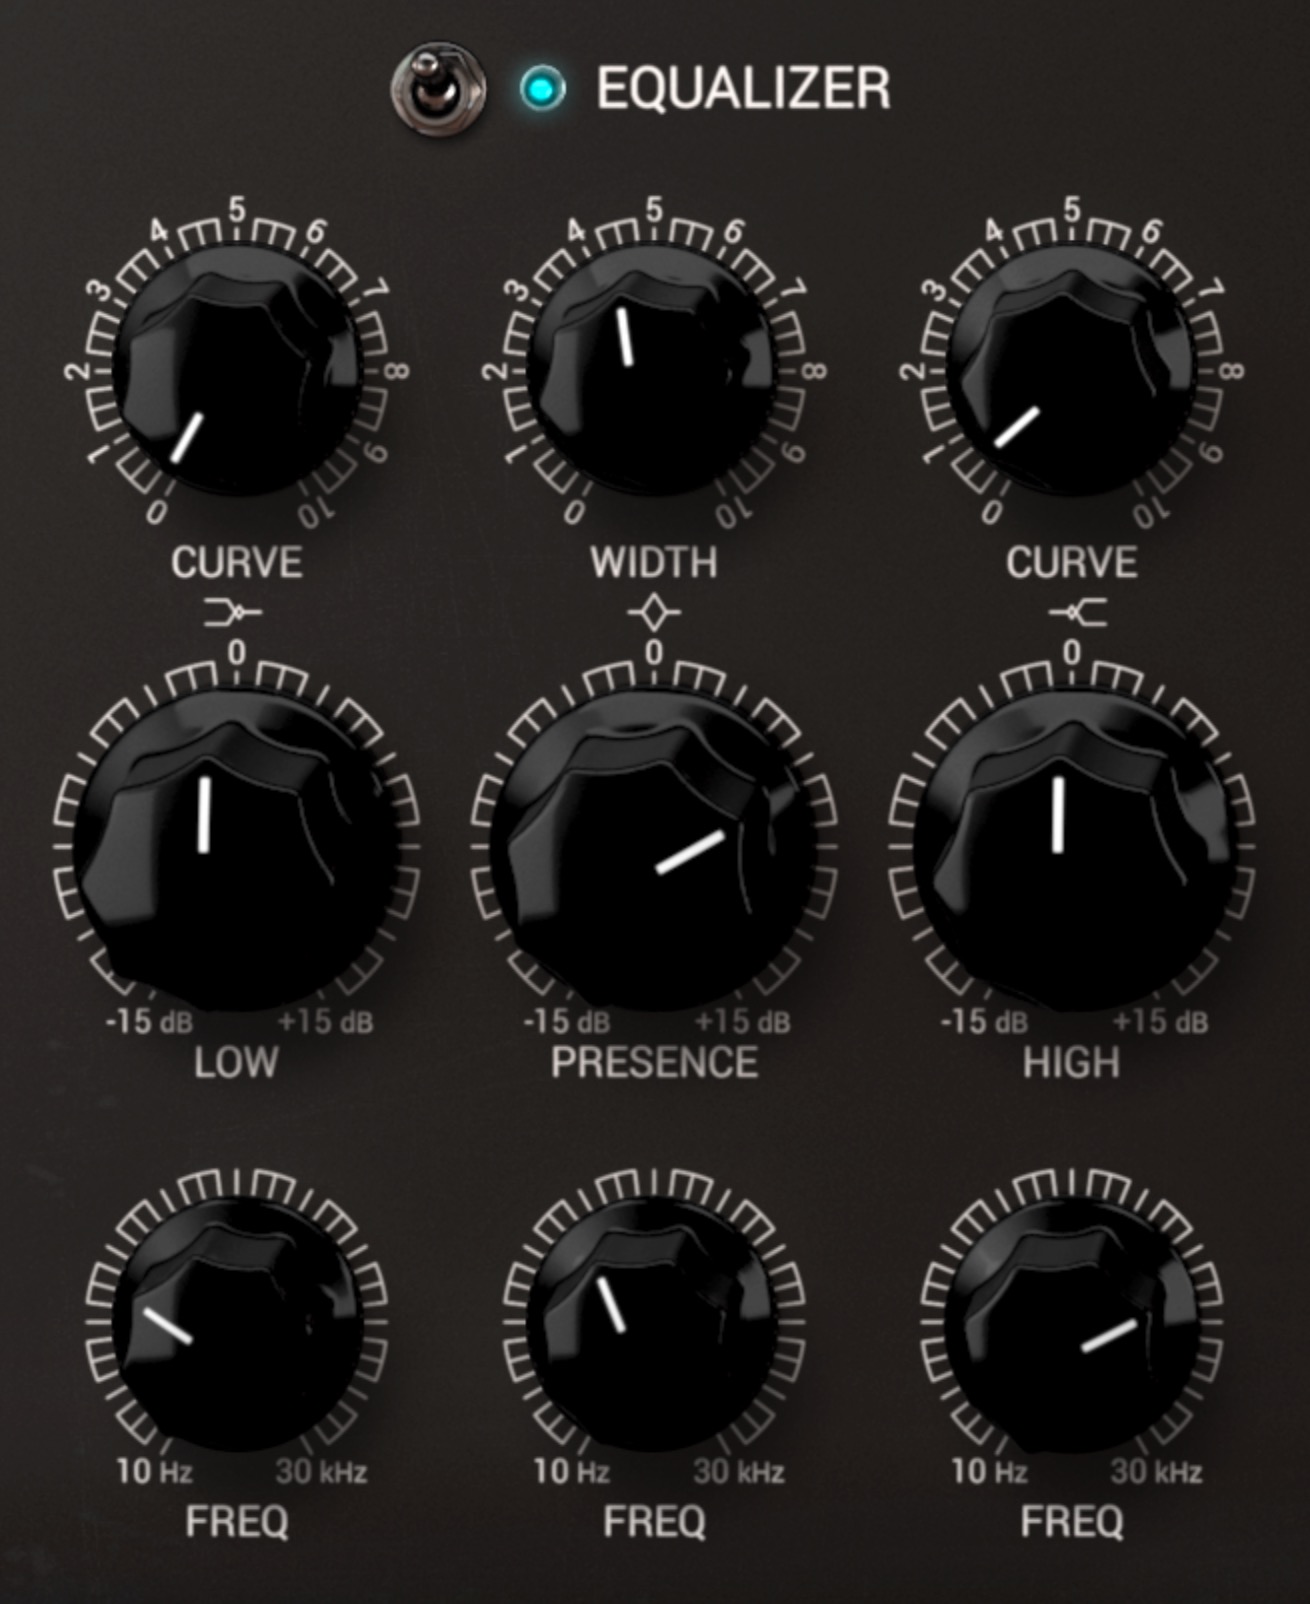
The Low and High bands have a shelf type filter, while the Middle band (labeled Presence) has a Peak (Bell) type filter.
You have controls for Curve on the Low and High frequency bands, and for the Q (width) in the Presence band.
You also have controls for Gain and Frequency, which makes this a fully parametric three-band EQ.
The Equalizer output can be routed to each of the three main audio paths (Dry, Compressor and Saturation), and also to the Filter input.
Linear Phase allows you to choose the phase response of the oversampling, selecting between linear phase or minimum phase.
It is exclusive to the Bus FORCE.
Linear Phase can be great when mastering.
However, due to the induced latency, it might not be so great when mixing.
It is up to you to choose between ‘Linear Phase’ with induced latency and a slight increase in CPU demand, or minimum phase with no latency.
DC stands for Direct Current, and DC blockers may perform ground loop elimination, signal source modulation leakage suppression, and system signal-to-noise ratio improvement, among other things.
You don’t need to turn on DC Blocker if you have proper recording sources, but even the modeled distortion can in some settings add a bit of DC.
That’s why DC blocker is ON by default.
With three independent audio paths (dry path, compressor path and saturated path), and the possibility to turn OFF modules in each path independently, Bus FORCE offers many great opportunities in terms of routing.
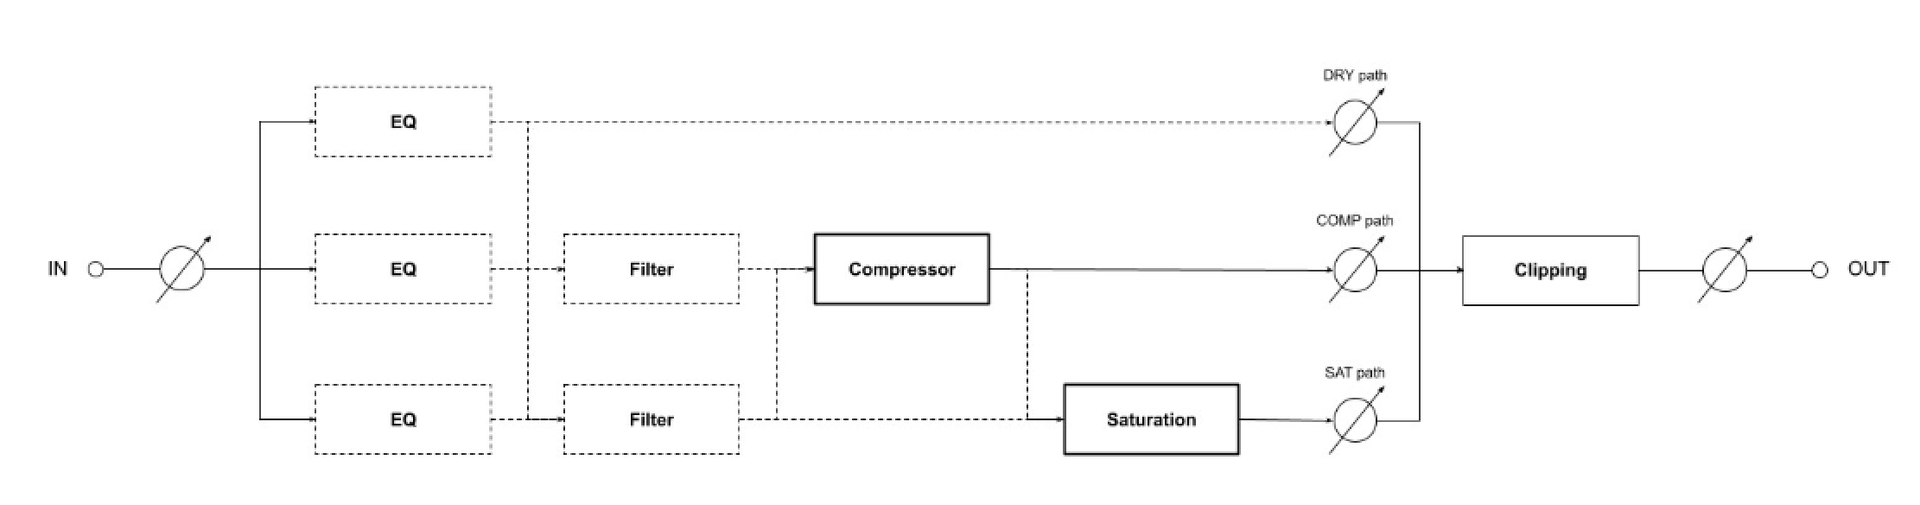
It allows for example to dive into some parallel processing, by independently adding some equalization, compression, saturation to the original signal. Be aware that you can also process the signal with the different modules placed in series.
Clipping is another kind of distortion that you control using the dedicated knob.
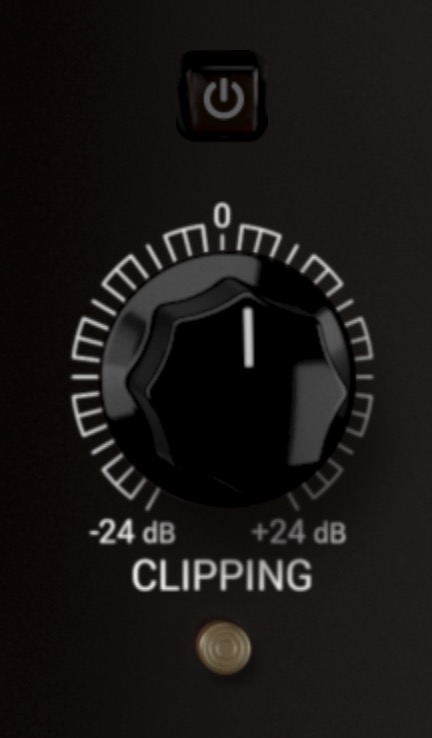
Basically, it "squares" the waveform when it goes over zero.
As a consequence, it creates a lot of high frequency partials.
You can use the clipping on "noisy" short attack transients of drum sounds.
By default, it is OFF and set at 0.