

The MiniFuse Control Center is a convenient application that makes it possible to access many of your MiniFuse's features directly from your computer.
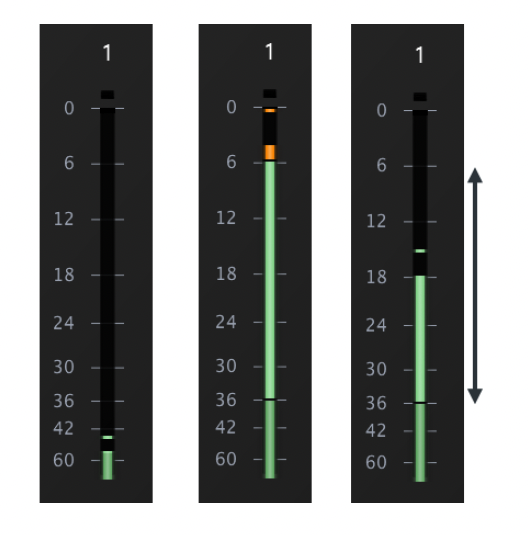
Some features, like high-resolution VU meters, are only available in the MFCC.
On Windows, MFCC also installs a dedicated low-latency audio driver that allows you to get the best performance from your device.
It is necessary to run the application when you first begin using the interface, so that it can be configured for optimal performance.
Once this is done, you don't need to run the application everytime you want to use the interface - only when you want to adjust interface settings from your computer.
Make sure to try another Web Browser such as Firefox, Google Chrome, Edge and to follow the steps once again on this page: https://www.arturia.com/minifuse-start
If needed, please try to download it from the page below: https://www.arturia.com/products/audio/minifuse/resources
Once the installer has been downloaded, double-click to begin the installation process and follow the on-screen instructions
Make sure to try to uninstall the MiniFuse Control Center, to download it again and to reinstall it in case anything went wrong during the installation process.
If it still doesn't work, please make sure that you've given the appropriate rights and permissions to the software for it to open and run properly:
- On MacOS, ensuring that the application is allowed in "System Preferences -> Security & Privacy" may help.
- On Windows, make sure to try to open it with a right-click and by choosing "Run as an administrator".
In some cases, using a lot of processing in a DAW (e.g. with effects or plugins), or setting low buffer sizes on an older computer can cause the CPU load to be very high.
A high CPU load can increase the risk for audio dropouts (pops) to occur.
In these cases, "Safe Mode" can be enabled to avoid the risk of audio dropouts.
First, make sure to keep in mind that:
Headphones output n°1 replicates the sources added to the Outputs 1 & 2 mix
If no sources are added to the mix, by default only the signal coming from the USB Channels 1/2 will be forwarded to these outputs.
Headphones output n°2 replicates the sources added to the Outputs 3 & 4 mix
If no sources are added to the mix, by default only the signal coming from the USB Channels 3/4 will be forwarded to these outputs.
To route signals to the 2nd headphone output (and to the speakers outputs 3/4 on the back as well):
- Make sure to open the MiniFuse Control Center
- Go to the "Outputs" section and add (as Headphones 2 are duplicating the Outputs 3&4 as mentioned above) the desired sources to your "Outputs 3 & 4" Mix by clicking on "Outputs 3 & 4" and then on the "+" icon on the right to add a source:
In the above example, Headphones 2 (replicating Outputs 3 & 4) will output the signal coming from the main USB 1/2 channel but not from USB 3/4 channels as it is mute.
- Once having selected the desired sources for each of the Headphones outputs (meaning "Outputs 1 & 2" + "Outputs 3 & 4"), make sure to unmute them and you should now be able to listen to the desired signals through the desired headphones outputs.
-Make sure to edit both "Outputs 1 & 2" + "Outputs 3 & 4" if you would like having the same signal outputted to both outputs by including in both of them all the needed sources.
If your MiniFuse is not detected in the MiniFuse Control Center, it might be that there is an issue with the driver.
You can either reinstall the MFCC and tick the "Install driver" box, or execute the "Driver Update" file following this path: C:\Program Files (x86)\Arturia\MiniFuse Control Center.